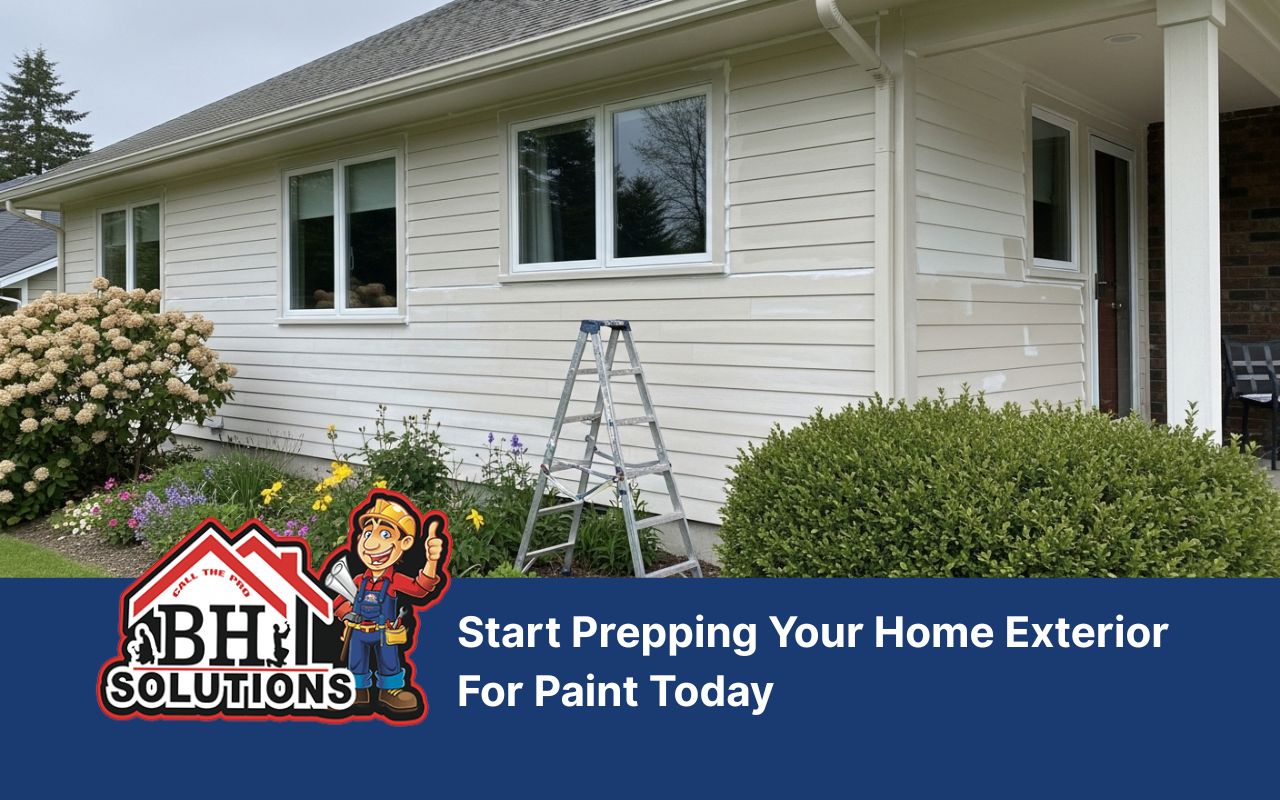
Prepping your home exterior for paint starts with clean surfaces, simple repairs, and a clear plan. At BH Solutions, LLC, we know careful prep helps new paint last longer and look smoother from the first day.
When we prepare each surface the right way, your home can feel fresh again. From washing dirt away to choosing primer and waiting between coats, every step supports a better finish and stronger protection.
Inspect Every Surface Before You Begin Exterior Painting
First, take time to look over siding, trim, corners, and eaves. As you check each area, note cracked boards, faded spots, mildew, and loose sections that need care before painting begins.
At BH Solutions, LLC, we treat this review as the base of prepping your home exterior for paint. It helps us find hidden damage early, plan repairs well, and avoid problems after the new coat goes on.
Clean Walls Thoroughly With Pressure Washing Before Painting
Next, remove dirt, chalk, and old residue with pressure washing. A clean wall gives paint a better surface to grip, and it also makes cracks, stains, and weak spots easier to see.
After washing, let every area dry fully before moving ahead. This step matters because trapped moisture can affect results, especially when you want a neat finish that stays strong through changing weather.
- Wash away dirt, mildew, and loose debris.
- Keep the spray at a safe distance.
- Let surfaces dry before sanding or priming.
Smooth Rough Areas and Remove Loose Exterior Paint
Once the walls are dry, sand rough spots and scrape peeling paint with care. These steps create a flatter surface, so the new finish looks more even and holds up better over time.
We often combine surface sanding with close touch-ups around trim and edges. BH Solutions, LLC uses this stage to reduce flaws, improve paint grip, and make later coats easier to apply.
- Use a scraper on lifting paint.
- Sand edges until they feel smooth.
- Brush away dust before primer goes on.
Repair Damage and Caulk Gaps for Better Protection
Before painting, seal joints, fill small holes, and caulk gaps around windows, doors, and trim. In the same way, damaged boards need attention, since weak material can shorten the life of the finish.
If wood feels soft, fix wood rot before adding primer or paint. BH Solutions, LLC knows these repairs are a major part of prepping your home exterior for paint because they support both beauty and durability.
Choose Primer and Cover Nearby Areas With Care
A smart primer choice helps cover bare patches, repairs, and stains while giving the topcoat a more even base. At the same time, masking areas around lights, glass, rails, and fixtures keeps nearby surfaces clean.
We match primer to the material whenever possible, since wood, stucco, and other surfaces do not all need the same product. BH Solutions, LLC also protects plants, paths, and trim before the first coat begins.
- Select primer that fits the surface type.
- Mask windows, hardware, and fixtures well.
- Cover landscaping and walkways before painting.
How Can You Pick Paint Tools and Finishes?
The right tools help each coat go on smoothly and save time during the job. Rollers cover broad siding fast, while angled brushes work better for trim, edges, and small details.
Finish matters too, because siding, doors, and trim often need different levels of shine. As we guide clients at BH Solutions, LLC, we focus on practical choices that support easy care and lasting curb appeal.
Frequently Asked Questions
Why does exterior prep matter before painting?
Prep helps paint stick better, look smoother, and last longer. It also gives you time to repair damage before moisture and weather create bigger issues.
When should I use pressure washing on exterior walls?
You should wash surfaces before sanding, priming, or painting. Pressure washing removes grime and loose material, which helps create a cleaner base for the next steps.
Do I always need to scrape peeling paint first?
Yes, loose paint should come off before any fresh coat goes on. When you scrape peeling paint, the new layer has a firmer surface to hold onto.
Why is drying time between coats so important?
Drying time between coats helps each layer cure the right way. If paint is rushed, it may streak, peel, or fail sooner than expected.
Can I skip prep if the old paint still looks decent?
Even when paint looks fine from a distance, dirt, small cracks, or hidden damage may still be present. A careful inspection helps prevent uneven results and early wear.
Apply Coats Evenly and Respect Proper Drying Times
After repairs and primer are done, apply paint in thin, even passes from top to bottom. Keep a steady pattern and allow full drying time between coats so the finish can build well.
At BH Solutions, LLC, we know prepping your home exterior for paint does not end before color goes on. It also includes patient recoat timing, final checks, and the care needed for a clean result. For more ideas, read our exterior painting advice for a lasting finish and explore choosing the right painting contractor in Fairfield CT. When you are ready to talk about prepping your home exterior for paint, visit the contact page for BH Solutions, LLC.