
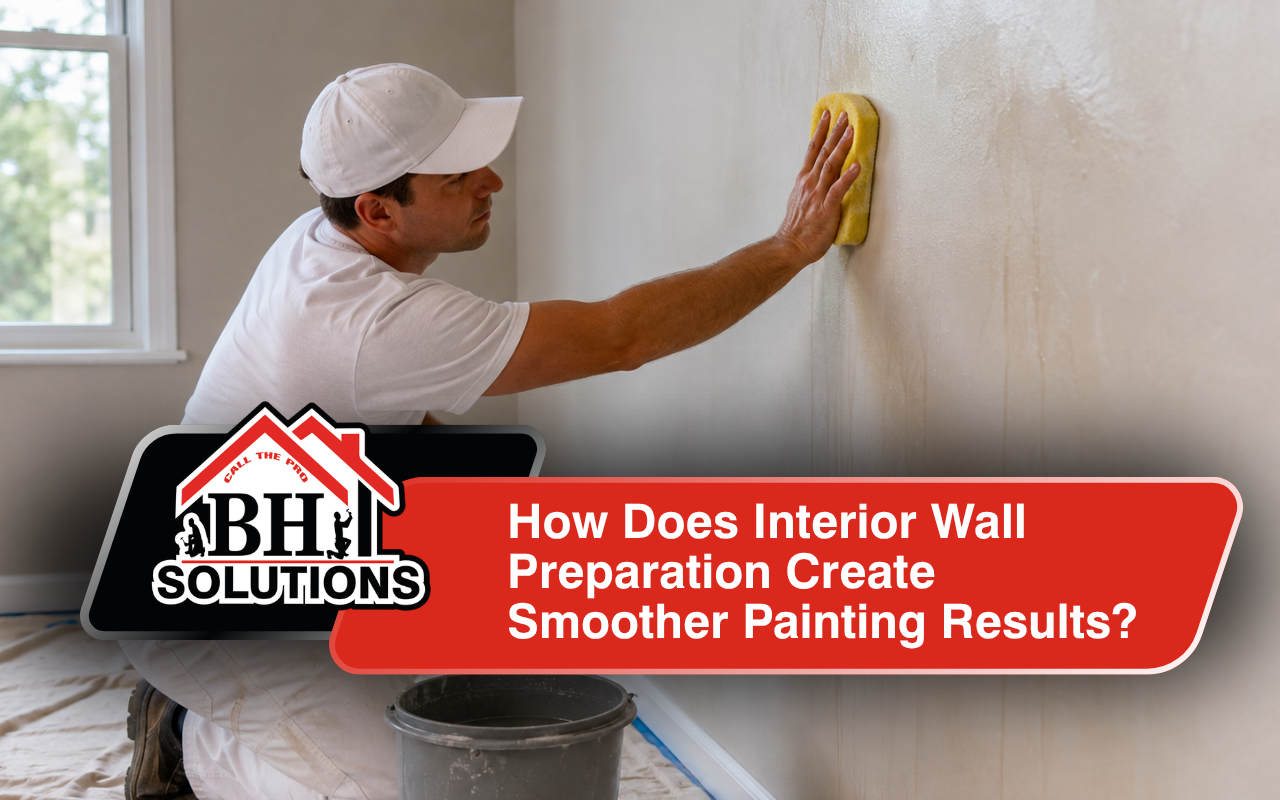
Interior wall preparation creates a smooth, stable surface where primer and paint can bond correctly. Therefore, cleaning, repairing, sanding, and priming should happen before painting begins. These steps reduce rough areas, visible patches, and uneven coverage. As a result, the finished wall can look cleaner, feel smoother, and maintain its appearance longer.
Proper Preparation Builds a Strong Base for Better Paint
Good wall preparation for painting begins well before the first finish coat. First, the wall needs a careful inspection. Dirt, grease, cracks, dents, nail holes, and loose paint can affect the final result. Therefore, each problem should be handled before new paint covers the surface.
At BH Solutions, LLC, we treat preparation as part of the painting process, not an optional extra. Therefore, we check the condition of each wall before moving forward. This helps us identify repairs and surface problems that fresh paint could otherwise highlight.
Proper preparation also supports better adhesion. Moreover, a smooth wall allows paint to spread more evenly. Because flaws are addressed early, the finished surface can appear more consistent. If you want to understand what careful workmanship includes, review our guide to recognizing careful professional painters.
Essential Tools Keep Every Wall Preparation Step Organized
Having the correct tools nearby makes the work easier and more organized. Therefore, gather everything before cleaning or making repairs. Common supplies include:
- A bucket, mild detergent, sponge, and clean water for washing.
- A putty knife and patching compound for filling wall holes.
- Joint compound for larger drywall repairs and damaged areas.
- Sandpaper or a sanding block for smoothing repaired surfaces.
- Clean cloths for removing dust after sanding interior walls.
- Drop cloths for protecting floors, furniture, and nearby items.
- A suitable interior wall primer for creating an even base.
Also, keep protective equipment nearby when sanding or removing loose material. Good airflow can make the work area more comfortable. At BH Solutions, LLC, we organize each stage before starting because an orderly process helps reduce missed steps.
Simple Cleaning Removes Dirt Before Fresh Paint Goes On
Cleaning walls before painting removes dust, grease, cobwebs, and surface dirt. First, move furniture away from the work area. Then, protect floors and nearby belongings. Afterward, remove loose dust with a clean cloth or duster.
Next, mix mild detergent with warm water when the wall surface allows it. Gently clean small sections with a damp sponge or cloth. However, avoid soaking drywall or leaving excess water on the surface. Then, remove any cleaning residue and allow the wall to dry completely.
Greasy areas may require extra attention, especially in kitchens. Meanwhile, visible marks should be cleaned before sanding or priming. Because paint can trap dirt underneath, skipping this step may weaken the finished surface.
Careful Repairs Restore Holes Cracks and Damaged Drywall
After cleaning, inspect the wall under good lighting. Small dents, holes, and cracks often become more noticeable after fresh paint is applied. Therefore, drywall repair before painting should happen before the final sanding stage.
For small holes, apply patching material with a putty knife. Then, smooth the material slightly beyond the damaged area. Allow it to dry fully before sanding. Larger damaged areas may require joint compound or additional repair steps.
Cracks also need careful attention. However, a crack that keeps returning may point to movement or another underlying problem. Therefore, simply covering it may not provide a lasting answer.
At BH Solutions, LLC, we look beyond the visible mark before preparing the surface. As a result, customers can better understand what the wall needs before painting begins.
Light Sanding Smooths Interior Walls for Even Coverage
Sanding interior walls helps blend patched areas with the surrounding surface. Therefore, use light and controlled pressure instead of aggressive sanding. The goal is to remove ridges and rough edges without damaging the wall.
First, make sure every repair is fully dry. Next, sand the repaired spot until it feels level. Then, inspect the surface from different angles. Angled light can reveal raised edges or shallow areas that normal room lighting may hide.
After sanding, remove all loose dust. Otherwise, dust can interfere with primer and paint adhesion. A clean cloth can help prepare the surface for the next step.
Correct Priming Seals Repairs and Supports Lasting Color
An interior wall primer creates a more even base before finish paint. Moreover, primer can reduce uneven absorption between patched areas and existing surfaces. Therefore, it is especially useful over repairs, fresh drywall, and certain stained areas.
Primer choice should match the wall condition. For example, repaired drywall may need a product made for absorbent surfaces. Meanwhile, stubborn marks may require a suitable stain-blocking option. Always follow the product instructions for application and drying.
At BH Solutions, LLC, we consider the surface before deciding how the priming stage should proceed. Therefore, we avoid treating every wall exactly the same. For additional painting guidance, explore our interior painting guidance for smoother home finishes.
Clear Steps Guide Efficient Wall Preparation Before Painting
A simple order keeps interior wall preparation easier to manage. Therefore, work through one stage completely before starting the next.
- First, clear furniture and protect nearby surfaces.
- Next, inspect walls for dirt, holes, cracks, and loose paint.
- Then, clean the walls and allow them to dry fully.
- Afterward, repair holes, dents, cracks, and damaged drywall.
- Next, sand repaired areas until they feel smooth.
- Then, remove every trace of sanding dust.
- Finally, apply the correct primer where the surface requires it.
This order keeps cleaning, filling wall holes, repairing, sanding, and priming connected. Moreover, it prevents clean surfaces from becoming dusty again too early. At BH Solutions, LLC, we follow an organized approach so each stage supports the next.
Common Mistakes Weaken Paint Adhesion and Finished Surfaces
Preparation mistakes can become visible after paint dries. Therefore, avoid shortcuts that may weaken the finish. Common mistakes include:
- Painting over grease, dust, or loose surface material.
- Applying primer before damp areas have dried completely.
- Painting over patching material before it has fully cured.
- Leaving sanding dust on walls before applying primer.
- Over-sanding repairs and creating shallow spots or grooves.
- Applying thick filler instead of building repairs carefully.
- Ignoring loose or peeling old paint around damaged areas.
Also, do not assume fresh paint will hide every flaw. In many cases, new color makes uneven areas easier to notice. Therefore, preparation should solve visible surface problems before the finish coat begins.
Professional Support Delivers Cleaner Results With Less Stress
Preparing walls takes patience, especially when several repairs appear across one room. However, a careful process can prevent frustrating touch-ups later. At BH Solutions, LLC, we help homeowners move from surface inspection through painting with clear guidance.
Our team can review wall conditions, preparation needs, and the next practical step. Therefore, you do not have to guess whether a surface needs cleaning, repairs, sanding, or primer. When you are ready to discuss your space, request a home improvement project with our team.
With BH Solutions, LLC, you receive a preparation-focused approach before fresh color reaches the wall. As a result, the painting process begins with a stronger and smoother foundation.
Frequently Asked Questions
Why should walls be prepared before interior painting?
Preparation removes dirt and addresses surface flaws before painting. Therefore, primer and paint can meet a cleaner, smoother base. Our guide to recognizing careful professional painters explains why preparation is an important sign of careful work.
Should interior walls be cleaned before sanding them?
Yes, cleaning first can remove grease and loose dirt before other work begins. However, sanding dust must also be removed afterward. For help reviewing your project, connect with us .
Do wall holes need repair before applying paint?
Yes, holes and dents can remain visible beneath new paint. Therefore, repair and smooth them before applying the finish. Our interior painting guidance for smoother home finishes covers professional preparation and execution.
When is primer useful on an interior wall?
Primer is useful on repaired, absorbent, or difficult surfaces. Moreover, the correct product can create a more even base. At BH Solutions, LLC, we can review your wall before work begins through a our project consultation page.
How can professional preparation improve the final finish?
Professional preparation can address repairs, rough areas, dust, and priming needs before painting. Consequently, the finish starts on a more stable surface. Read our guide to recognizing careful professional painters for more signs of quality preparation.
References:
- How to Paint a Room: 8 Steps to Painting Walls Like a DIY Pro — Architectural Digest
- 5 Rookie Painting Mistakes We’re Begging You to Stop Making — Good Housekeeping