
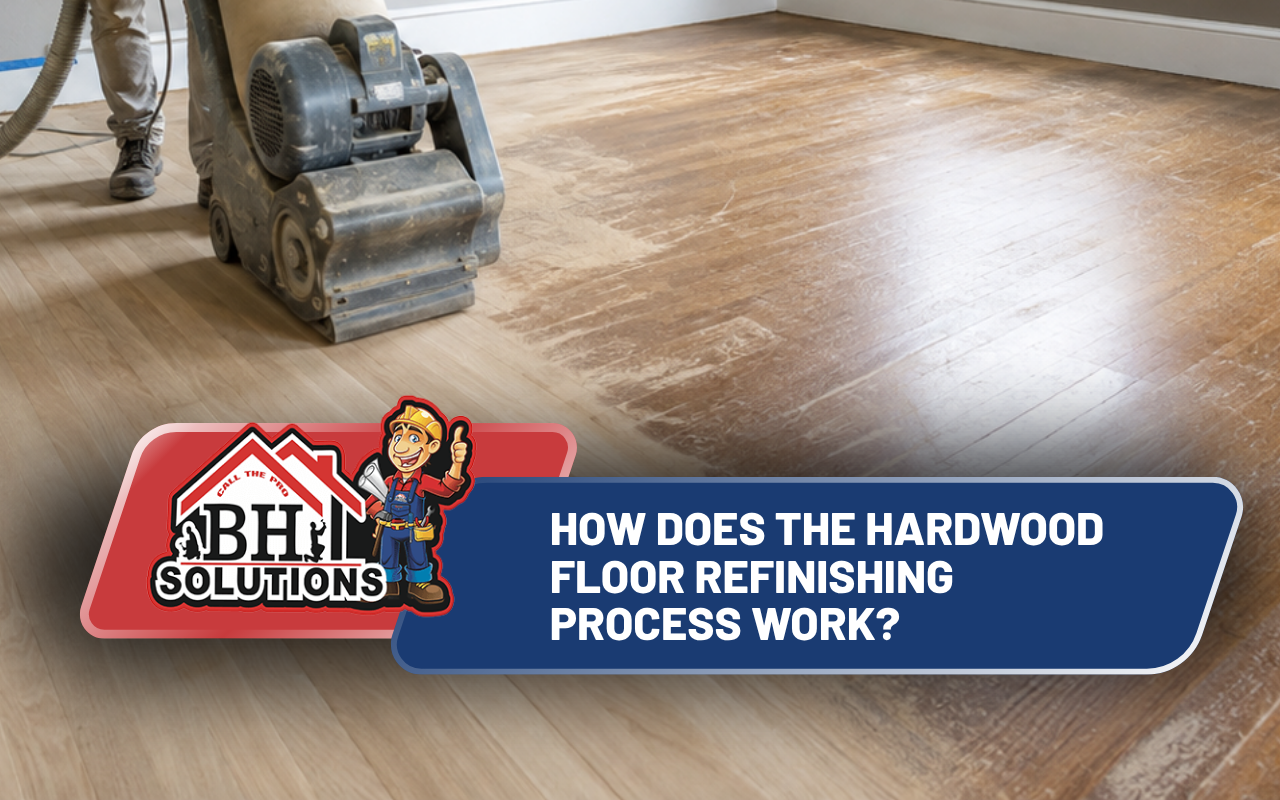
The hardwood floor refinishing process removes worn finish, smooths damaged areas, restores color, and adds protection. First, the floor is inspected and prepared. Next, sanding removes the old coating and surface marks. Then, repairs and stain improve the appearance. Finally, finish seals the wood.
Assess Floor Conditions Before Planning Any Restoration Work
Before sanding begins, inspect the room in good light. Look for deep scratches, dark stains, loose boards, and exposed wood. Also, listen for squeaks. Raised edges or movement may point to needed repairs.
At BH Solutions, LLC, we believe careful inspection prevents problems later. Light wear may need less work. In contrast, heavy discoloration or bare wood may need a more complete approach.
- Mark deep scratches, gaps, and damaged boards.
- Check for water stains or darkened areas.
- Listen for loose boards or repeated squeaks.
- Measure the room before choosing materials.
This review guides the floor refinishing steps and the needed level of wood floor restoration.
Prepare the Room Carefully for Cleaner Refinishing Results
Good hardwood floor preparation protects the home and creates a better work area. First, remove furniture and rugs. Then, remove trim when needed. Cover nearby openings so dust stays contained.
Next, check edges and corners for loose boards or raised nails. Address them before sanding. In addition, protect vents and nearby surfaces from dust.
- Clear furniture and decorations from the room.
- Protect doorways, vents, and nearby spaces.
- Secure loose boards before machines enter the area.
- Keep tools and materials organized outside walking paths.
At BH Solutions, LLC, we keep preparation simple and organized. Homeowners planning wider updates can explore our old home renovation planning guidance for preserving original features.
Sand Away Old Finish While Protecting the Wood
Sanding hardwood floors is one of the most important stages. The goal is to remove old finish without creating dips, waves, or deep marks. Usually, the work begins with a coarse abrasive. Then, finer grits gradually smooth the surface.
A floor sander handles the main area, while an edging sander reaches walls. Each pass should stay steady. Most importantly, the machine should keep moving. Stopping in one place can cut too deeply.
After each grit, vacuum thoroughly. Dust can scratch the surface during the next pass. Therefore, cleaning between stages supports a more even result.
At BH Solutions, LLC, we treat this stage carefully because sanding shapes every step that follows. Refinishing old hardwood becomes easier when the surface is level and clean.
Repair Small Gaps to Create a Smoother Surface
After sanding, small gaps and cracks become easier to see. Therefore, inspect the floor again. Minor holes may accept compatible wood filler. However, damaged boards may require another repair.
Apply filler carefully and remove extra material before it hardens. Once dry, lightly sand the repaired area so it blends with nearby wood. The surface should feel smooth under your hand.
Careful repairs help the floor look consistent. If flooring is part of a larger update, our custom home renovation planning page can connect flooring decisions with the rest of the space.
Apply Stain Evenly to Build the Desired Color
Staining hardwood floors is optional, yet it can completely change the room’s appearance. Before covering the whole floor, test the stain in a small area. Wood species, age, and previous wear can affect the final color.
Once the color looks right, apply stain in small sections. Work with the grain and blend the edges. Then, remove extra stain according to the product instructions. Heavy areas may dry darker.
Allow the stain to dry fully before adding finish. Also, ventilate the room according to the product label. At BH Solutions, LLC, we encourage colors that support the room, trim, furniture, and light.
Seal Refinished Boards to Strengthen Everyday Surface Protection
After the stain dries, the wood needs protective finish. This layer helps defend against foot traffic, small spills, and daily wear. Common choices include water-based and oil-based polyurethane.
Apply thin, even coats and follow the manufacturer’s drying directions. Depending on the product, light sanding between coats may help. However, leave the final coat untouched while it cures.
- Confirm the stain is completely dry first.
- Apply each coat evenly and avoid heavy puddles.
- Respect drying and curing times on the label.
- Limit traffic until the finish is ready.
The hardwood floor refinishing process depends on patience at this stage. Rushing furniture back too soon can mark a fresh surface. Therefore, give the finish enough time before normal use resumes.
Restore the Room Gently After the Finish Cures
Once the finish cures, remove dust barriers and clean nearby surfaces. Vacuum baseboards and vents. Then, reinstall removed trim.
Bring furniture back slowly and use felt pads under legs. Avoid dragging heavy pieces across the floor. Area rugs can help protect busy pathways, but only place them after the finish manufacturer allows it.
Regular care helps maintain the result. Sweep or vacuum grit before it scratches the surface. Also, use cleaners made for finished hardwood. With BH Solutions, LLC, homeowners can request a home improvement consultation for larger renovation plans.
Follow These Steps for a More Consistent Finish
A clear how-to sequence makes the work easier to understand. Although each floor differs, the main order stays consistent.
- Inspect the boards for damage, wear, and movement.
- Clear and protect the room before work begins.
- Sand the old finish using progressively finer grits.
- Vacuum thoroughly and repair small cracks or holes.
- Apply stain evenly when a color change is desired.
- Seal the surface with suitable protective finish.
- Allow proper curing before replacing furniture and rugs.
These floor refinishing steps create a practical path from worn boards to a renewed surface. More importantly, each stage prepares the floor for the next. That makes the hardwood floor refinishing process more predictable.
Frequently Asked Questions
How do I know if old hardwood needs refinishing?
Look for worn finish, deep scratches, bare wood, dark stains, or uneven color. For older homes, our older home restoration guidance can help you think about preserving original features before replacing them.
Can deep scratches disappear during hardwood floor refinishing?
Surface scratches can improve during sanding. However, deep gouges may need filling or board repair. For broader changes, review our whole-home renovation ideas to coordinate flooring with other updates.
Should hardwood floors always be stained after sanding?
No. Stain is mainly used when you want to change or even out the wood color. Natural-looking finishes may not need stain. To discuss how flooring fits your home goals, contact our renovation team for project guidance.
What preparation matters most before sanding hardwood floors?
Clear the room, secure loose boards, protect openings, and remove dust-producing obstacles. Good preparation supports safer, cleaner sanding. Our planning tips for older homes also explain why floors should be checked alongside other existing conditions.
When should homeowners consider professional refinishing support?
Professional support may help with deep damage, uneven boards, heavy staining, or complicated finishes. If you want help planning next steps, use our free project consultation page to reach the BH Solutions, LLC team.
Keep Restored Hardwood Looking Beautiful Through Simple Care
Refinished hardwood can bring warmth back to a room. Therefore, remove grit often, wipe spills quickly, and place protective pads beneath furniture.
At BH Solutions, LLC, we see wood floor restoration as part of the whole room. Whether you are refinishing old hardwood or refreshing several rooms, careful preparation and patient finishing support long-term beauty.
References:
- Architectural Digest: Refinishing Hardwood Floors: A Step-by-Step Guide
- The Washington Post: Is Refinishing My Only Option for Damaged Wood Floors?