
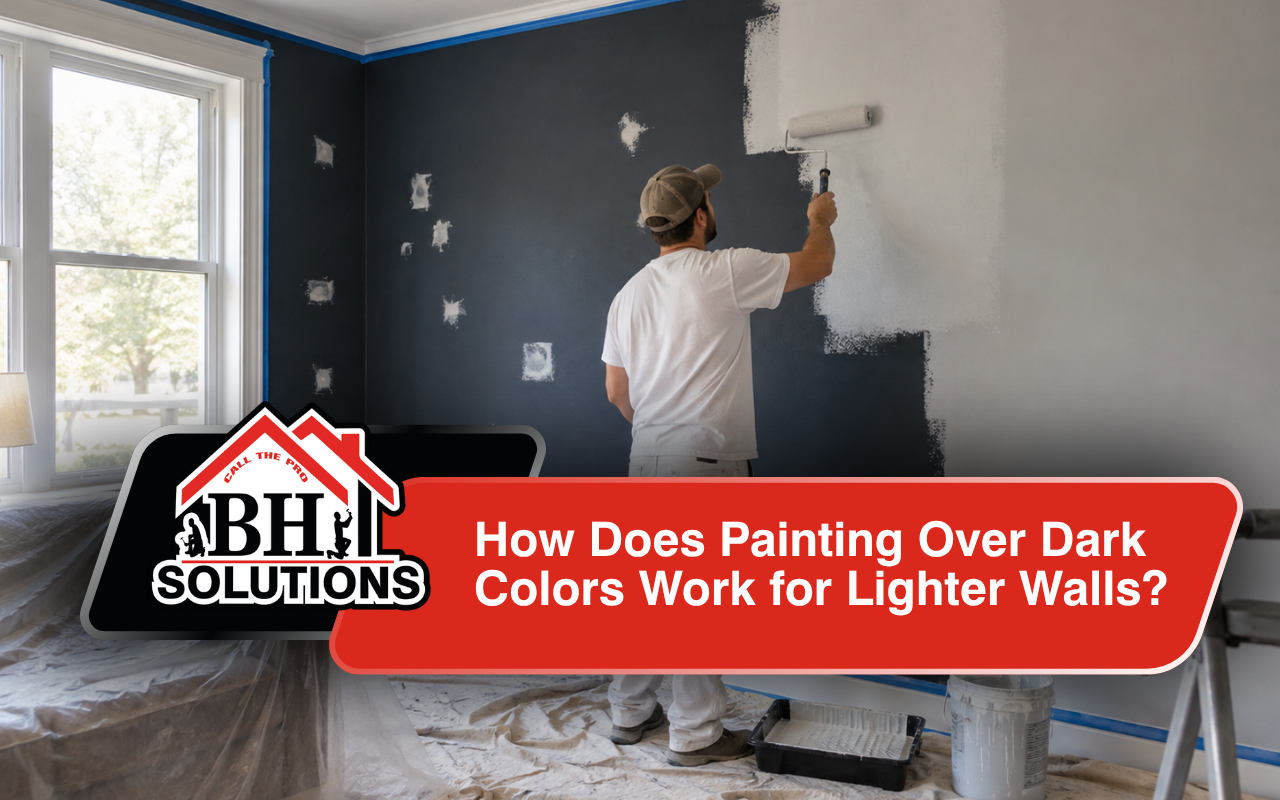
Painting over dark colors works by preparing the wall, covering the dark base with primer, and applying even lighter coats. First, clean and repair the surface. Next, use a suitable primer to reduce the old color. Then, apply the new paint in controlled coats. As a result, the lighter shade can appear clean, even, and true.
At BH Solutions, LLC, we treat every wall color transition as a planned process. Therefore, we check the existing surface before applying new materials. We also consider wall condition, lighting, repairs, and the final shade. Consequently, proper planning reduces patchy areas and helps prevent the old color from showing through.
Prepare Dark Walls Carefully Before Adding Lighter Paint
Strong interior painting preparation makes every later step easier. First, move furniture away from the walls. Then, protect floors and nearby items with drop cloths. Also, remove switch plates, outlet covers, artwork, and other wall fixtures.
Next, clean the walls with water and a mild cleaning solution. Dust, grease, and fingerprints can affect paint adhesion. Therefore, let every cleaned area dry fully before continuing.
Before applying primer, complete these important preparation steps:
- First, fill small holes, dents, and cracks.
- Next, sand repaired areas until they feel smooth.
- Then, remove sanding dust with a clean cloth.
- Afterward, protect trim and nearby surfaces with painter’s tape.
- Finally, inspect the wall for moisture, stains, or peeling paint.
If moisture is present, address the cause before painting. Otherwise, the new finish may develop problems later. At BH Solutions, LLC, we inspect the surface before repainting interior walls. Therefore, the new finish begins on a cleaner and more stable base.
For more preparation guidance, read our stain-blocking primer guide. It explains how proper cleaning, repairs, and sealing can prepare a wall for new paint.
Select Proper Primer To Reduce Dark Color Bleed
Primer plays an important role when applying light paint over dark paint. However, the right choice depends on the existing surface and final color. A suitable primer creates a more neutral base before the lighter finish goes on.
For a strong color change, a tinted primer may also improve coverage. In some cases, it reduces the contrast between the existing wall and the new shade. Therefore, the finish paint does not need to fight the dark base alone.
At BH Solutions, LLC, we consider the wall condition before selecting primer. First, we check stains, repairs, surface type, and the planned color. Then, we choose the preparation method that fits the project. As a result, later coats can appear more even.
A useful primer process includes these steps:
- First, confirm that the old coating remains stable.
- Next, choose primer suited to the wall surface.
- Then, apply it evenly across the entire area.
- Afterward, follow the recommended drying time.
- Finally, inspect the surface before applying finish paint.
If dark areas remain easy to see, another primer coat may be appropriate. However, very thick application can create its own problems. Instead, controlled and even coverage helps build a smoother foundation.
Apply Lighter Coats Evenly For Consistent Wall Coverage
Once the primer dries, begin painting around edges and corners. First, use an angled brush near trim, ceilings, and wall corners. Then, use a roller across the larger wall areas.
How to Move From Dark Paint to Light
When painting dark walls lighter, work in manageable sections. Also, keep a wet edge while moving across the wall. Therefore, each fresh section can blend more naturally into the previous one.
- First, cut in around edges using a suitable brush.
- Next, roll the larger wall areas in overlapping sections.
- Then, keep steady pressure on the roller.
- Afterward, allow the first coat to dry fully.
- Next, inspect the wall under normal room lighting.
- Finally, apply another thin coat when needed.
Multiple paint coats may be necessary during a major color change. However, every coat should dry properly before the next application. Otherwise, rushing can create marks, uneven texture, or inconsistent coverage.
At BH Solutions, LLC, we focus on even coverage instead of applying overly heavy layers. Therefore, we build the finish in controlled stages. Consequently, the lighter shade can look more consistent across the complete wall.
Create A Smooth Wall Color Transition With Testing
Paint colors can look different throughout the day. Morning sunlight may make a shade appear warmer. Meanwhile, artificial evening light can change its depth or tone. Therefore, test your lighter color before covering the complete room.
For additional ideas, explore our interior paint color guide. It explains how room lighting and nearby décor can affect the way a color appears.
A successful wall color transition should also work with flooring, furniture, trim, and existing décor. For example, soft creams can create a warm feeling. Meanwhile, pale grays, blues, or greens may create a cooler appearance.
At BH Solutions, LLC, we encourage homeowners to view color samples inside the actual room. Therefore, the final decision reflects real lighting conditions. Consequently, this simple step can prevent a chosen shade from feeling unexpectedly cold, dull, or bright.
Fix Common Coverage Problems Before The Final Coat
Even a careful painting project can develop minor problems. However, most issues are easier to correct before applying the final coat. Therefore, check the walls for drips, roller marks, thin areas, and visible dark patches.
If a dried drip appears, sand it lightly until the area feels smooth. Then, remove the dust before applying more paint. Likewise, avoid adding heavy paint directly over uneven areas.
If the original dark shade remains visible, inspect the base before continuing. Another primer coat may sometimes be more useful than repeated finish coats. Therefore, painting over dark colors should focus on correcting the foundation instead of simply adding more paint.
For more project guidance, read our interior painting preparation guide. It explains how careful preparation supports smooth and consistent interior results.
Enjoy Brighter Rooms After Repainting Interior Walls Correctly
A dark-to-light change can make an interior feel completely different. However, strong results depend on patience during every stage. Therefore, cleaning, repairing, priming, and careful rolling should work together.
After the walls dry, reinstall outlet covers and other removed fixtures. Then, return furniture to the room carefully. Finally, inspect the new color during both daylight and evening lighting.
At BH Solutions, LLC, we want each finished room to feel clean, comfortable, and refreshed. Therefore, we take preparation seriously before the final color goes on. We also prefer controlled coats instead of rushing the coverage process.
With the right sequence, painting over dark colors becomes much easier to manage. Moreover, proper preparation can reduce visible patches and support a cleaner final appearance.
If you want help with painting over dark colors in your home, you can contact us. Then, we can discuss the wall condition, planned color change, and suitable next steps.
Frequently Asked Questions
Do I need primer before covering a dark wall?
Usually, primer is a smart choice for a major dark-to-light change. It creates a more neutral foundation before the lighter paint is applied. Therefore, it may improve coverage and color consistency. For additional information, read our primer preparation advice before starting.
How many coats can a dark-to-light change require?
The number depends on the existing color, new shade, primer, wall condition, and paint. Therefore, multiple paint coats may sometimes be needed. Our professional interior painting guidance explains how preparation supports a smoother final result.
Should I test a light color before painting everything?
Yes. Lighting can change how a paint color appears throughout the day. Therefore, testing a sample first can prevent unwanted surprises. Our interior color selection tips provide more guidance for comparing shades inside your home.
What should I repair before repainting a room?
First, fill small holes, cracks, dents, and damaged areas. Then, sand rough repairs and remove the dust. Also, address moisture before repainting. For more help with damaged surfaces, review our drywall repair and painting guidance.
Can your team help with a difficult color change?
Yes. At BH Solutions, LLC, we can review the wall condition and discuss the planned color change. We can also explain practical preparation and painting steps. Therefore, get in touch with us to share your project details and discuss the next step.
References:
- What Is Paint Primer and Is It Actually Necessary? — Real Simple
- How Much Paint Do I Need? Use This to Avoid a Last-Minute Trip to the Hardware Store — Architectural Digest