
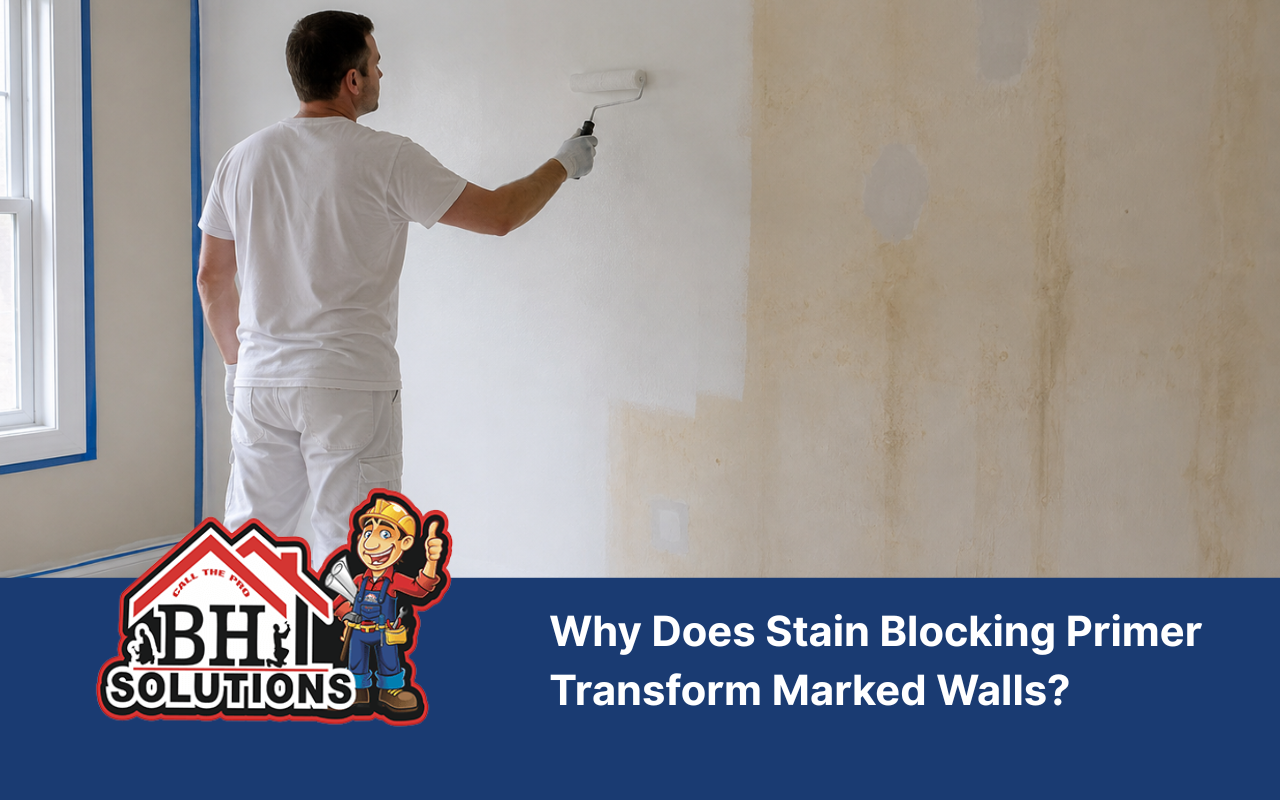
A stain blocking primer creates a firm barrier between old marks and new paint. Therefore, water rings, smoke residue, grease, and wood tannins cannot easily rise through the finish. It also creates a steady base for better paint adhesion. As a result, the final color looks more even and lasts longer.
At BH Solutions, LLC, we treat priming as an important part of the painting process. We first study the surface, stain type, and room conditions. Then, we choose a suitable product for the problem. This careful approach reduces repeat work and supports a cleaner finish.
Recognize Stubborn Marks Before Starting Your Painting Project
Different stains require different solutions. Therefore, identifying the source should happen before any product reaches the wall. A simple coat of regular paint may hide a mark briefly. However, the stain can return after the paint dries.
Common problem areas include:
- Brown or yellow rings caused by old water leaks
- Smoke marks from candles, cooking, fireplaces, or past fires
- Grease and food splashes on kitchen walls
- Crayon, ink, and other household marks
- Nicotine discoloration in older interior spaces
- Natural tannins that move through unfinished wood
A primer for water stains can seal dry discoloration after the leak source is repaired. Meanwhile, a smoke stain primer can lock in soot and lingering marks. Before either product is applied, the wall must be clean and completely dry.
Our team at BH Solutions, LLC, checks whether the damage is only cosmetic. We also look for moisture, loose material, or another active concern. Consequently, the new finish receives a safer and more stable foundation.
Select Suitable Primer Types for Each Surface Condition
No single primer works perfectly for every surface. Therefore, the product should match both the stain and the material beneath it. Product labels usually explain which marks and surfaces the primer can cover.
The main choices often include:
- A drywall primer for new, repaired, or highly absorbent drywall
- A wood primer for bare boards, trim, doors, and wood panels
- An oil primer for difficult water marks, tannins, and oily stains
- A latex primer for easier cleanup and many general indoor projects
- A smoke stain primer for soot, smoke discoloration, and related odors
An oil primer often creates a strong seal over serious marks. However, it may have a stronger smell and require careful cleanup. A latex primer usually dries faster and cleans with water. Still, it may not stop every heavy stain.
For wood, knots and tannins need special attention. Otherwise, brown areas may appear through pale paint. Likewise, fresh drywall absorbs paint unevenly without the right base. At BH Solutions, LLC, we compare these conditions before recommending the next step.
Prepare Every Wall Carefully for Stronger Paint Adhesion
Good wall preparation supports every later coat. First, remove dust, grease, cobwebs, and loose material. Then, wash dirty areas with a mild cleaning solution. Afterward, rinse when needed and allow the surface to dry fully.
Follow these preparation steps:
- Move furniture away from the work area.
- Cover floors, fixtures, and nearby belongings.
- Clean the wall from top to bottom.
- Repair cracks, dents, and small holes.
- Sand repaired areas until they feel smooth.
- Remove all sanding dust with a clean cloth.
- Apply painter’s tape around trim and edges.
Never prime over active moisture. Instead, locate and correct the water source first. Otherwise, stains may return, and the coating may peel. Also, mildew should be handled properly before painting begins.
For more guidance on cleaning, repairing, and priming surfaces, read our exterior painting advice for a lasting finish. Although exterior walls face different conditions, careful preparation remains equally important indoors.
Apply Stain Blocking Primer Through Simple Controlled Steps
Begin by reading the product instructions. Drying times, ventilation needs, and coat requirements can vary. Next, stir the stain blocking primer slowly until its texture looks even. Avoid creating bubbles during mixing.
Complete the application in seven clear steps
- Pour a manageable amount into a clean paint tray.
- Use an angled brush around corners, trim, and outlets.
- Load the roller without soaking it completely.
- Roll the primer across the wall in overlapping sections.
- Keep a wet edge to reduce visible lap marks.
- Let the coat dry for the stated period.
- Inspect the surface before adding paint.
Deep stains may require another coat. Therefore, check the wall under bright and even light. If discoloration remains visible, apply another controlled layer. Do not cover wet primer with finish paint.
Once the primer dries, lightly sand raised fibers or small drips. Then, remove the dust before painting. This final check supports a smooth surface and dependable paint adhesion.
Gain Lasting Benefits From Proper Primer Selection
The right stain blocking primer does more than hide an ugly mark. It creates a neutral surface, reduces uneven absorption, and helps the topcoat hold firmly. Consequently, color can appear richer and more consistent.
Important benefits include:
- Reduced stain bleed through the finish coat
- More even color across repaired and unrepaired areas
- Better paint adhesion on difficult surfaces
- Fewer unnecessary finish coats
- Lower risk of early peeling or flaking
- A cleaner and more professional appearance
Primer also reduces frustration. Without it, homeowners may repaint the same mark several times. In contrast, correct sealing handles the source of the visible problem before the final color is added.
With BH Solutions, LLC, you receive clear guidance before the painting work begins. We explain the surface needs and the steps required for a durable result. You can also review the signs of professional painters guide before choosing help for your project.
Avoid Frequent Errors That Weaken Finished Painted Surfaces
One common mistake is skipping cleaning. Dust and grease can stop primer from bonding correctly. As a result, bubbles, peeling, or weak patches may appear later.
Another mistake is spreading the primer too thinly. A weak coat may not seal the entire stain. Likewise, applying finish paint too soon can trap moisture and create uneven texture.
Homeowners should also avoid these problems:
- Using regular paint as a replacement for stain sealer
- Choosing a product without checking surface compatibility
- Priming before a leak has been repaired
- Ignoring the recommended drying period
- Working without enough airflow when the label requires ventilation
- Leaving sanding dust on repaired areas
At BH Solutions, LLC, we avoid guessing about surface conditions. Instead, we inspect the area and plan each stage carefully. This process protects the finish and reduces preventable problems.
Improve Final Results With Practical Professional Painting Habits
Work in small sections so the primer remains manageable. Also, overlap roller passes slightly while the edges are still wet. This method reduces lines and uneven coverage.
Use a quality angled brush near corners and trim. Meanwhile, an extension pole can help maintain steady pressure across larger walls. Good tools make application easier, but careful movement remains essential.
Room conditions also matter. Extremely cold, hot, or humid air may slow drying or change product performance. Therefore, follow the temperature range shown on the label. Open windows or use safe airflow when appropriate.
After priming, inspect every section from several angles. Bright side lighting can reveal missed spots, drips, or rough areas. Then, correct those details before applying the finish color.
When stains keep returning or the surface needs extensive repair, professional support can prevent wasted effort. To discuss the wall condition with our team, visit our contact page and describe the affected area.
Frequently Asked Questions
Can ordinary paint cover an old water stain?
Ordinary paint may hide the stain briefly. However, the mark can bleed through again. First, repair the moisture source and let the wall dry. Then, use a suitable primer. Our exterior painting advice for a lasting finish guide explains why surface preparation matters.
Should I use oil or latex primer?
The correct choice depends on the stain and surface. An oil primer can handle many heavy marks and wood tannins. A latex primer may suit lighter conditions and easier cleanup. For help reviewing your surface, reach out our team.
How many primer coats will my wall need?
Many walls need one complete coat. However, dark or deeply set stains may need a second application. Always let the first coat dry before checking coverage. Our professional painters guide can help you evaluate careful work.
Can primer remove the cause of water damage?
No. Primer only seals the visible discoloration after the cause is fixed. Therefore, repair the leak and dry the area before priming. For an assessment of the affected space, Contact Our Home Improvement Team.
Does new drywall always need a primer coat?
New drywall is highly absorbent and can create uneven paint color. Therefore, a drywall primer usually creates a more uniform base. Learn more about careful priming through our exterior painting advice for a lasting finish.
Complete Your Wall Upgrade With Greater Painting Confidence
A stain blocking primer can change the outcome of a difficult painting project. It seals unwanted marks, strengthens the base, and supports smoother color. Moreover, proper wall preparation helps every coat perform better.
At BH Solutions, LLC, we believe a lasting finish begins before the paint can opens. We assess stains, repairs, materials, and room conditions first. Therefore, each surface receives a plan suited to its needs.
Do not let water rings, smoke marks, or wood tannins spoil your new color. Instead, address the stain properly and build the finish on a stable base. For experienced support, contact our home improvement team to begin your painting project.
References:
- How to Treat Stains on Plaster and Drywall — This Old House
- How to Paint a Room Like a DIY Professional — Architectural Digest