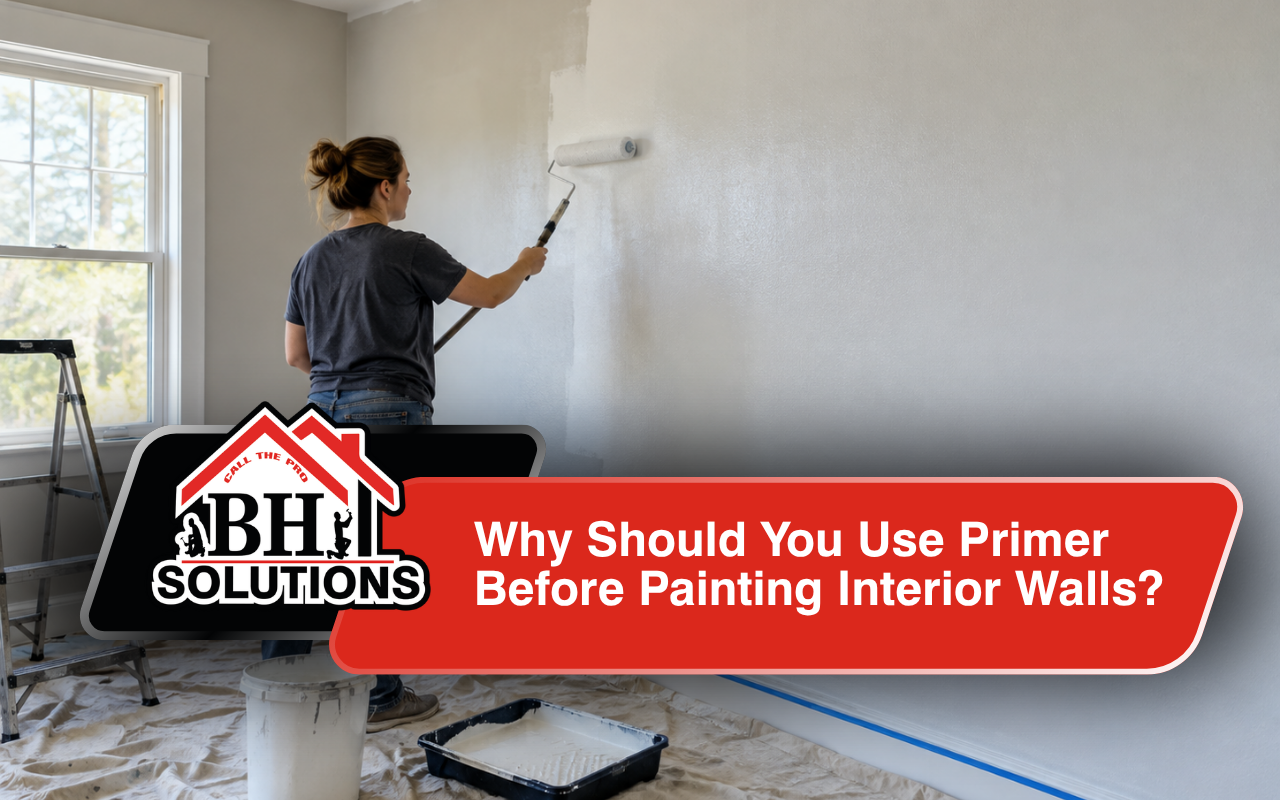
Primer before painting creates a steady base between the wall and the finish coat. Therefore, it can seal porous areas, support better paint grip, and reduce uneven color. Moreover, it matters most on new drywall, repaired spots, stained areas, glossy surfaces, and major color changes.
At BH Solutions, LLC, we look at the wall before choosing the next step. For example, some walls need a full coat, while others need spot priming only. Because every surface is different, the right plan can prevent peeling, flashing, and extra repainting later.
Choose the Right Primer for Every Interior Surface
Different surfaces absorb paint in different ways. Therefore, one primer does not fit every project. Likewise, a suitable interior wall primer can create a more even base and help the finish look consistent.
- First, new drywall often needs a drywall primer that seals the paper and joint compound.
- Next, bare wood may need a product that seals pores and helps control tannins.
- Meanwhile, glossy surfaces may need a paint adhesion primer before a new finish coat.
- Finally, stained areas may need a blocking primer after the stain source is corrected.
At BH Solutions, LLC, our team checks the material, repairs, stains, and old finish before recommending a product. Therefore, for more guidance, read our guide to blocking stubborn wall stains.
Prepare Repaired Walls Carefully for More Even Coverage
Patched areas can absorb paint differently from the surrounding wall. As a result, they may look dull or lighter after painting. Therefore, a primer for repaired walls helps create a more uniform surface before color goes on.
First, let patching compound dry fully. Next, sand the area until it feels smooth. Then, remove all dust before priming. Because dust can weaken the bond, cleaning should never be rushed.
At BH Solutions, LLC, we see surface preparation as essential, not optional. Therefore, when repairs remain visible, our guide to careful professional painting preparation explains why prep work affects results.
Improve Paint Adhesion on Slick or Difficult Surfaces
Some surfaces do not hold new paint well. For example, a hard glossy finish can make a fresh coat slide or peel. Therefore, a paint adhesion primer can create a stronger base for the next coat.
First, clean grease, dust, and loose material before priming. Next, dull very glossy areas when the product directions call for it. Afterward, apply the primer in a thin and even coat.
Moreover, good adhesion depends on dry conditions and proper cure time. Consequently, never cover wet primer with finish paint. Instead, follow the product label and let the base dry completely.
Support Cleaner Color Changes with a Neutral Base
A strong color change can require more work than a simple refresh. For example, dark red, navy, or bright tones may show through lighter paint. Therefore, primer before color change can create a calmer and more neutral base.
- First, use a suitable primer when moving from very dark to very light colors.
- Next, consider a tinted primer when the paint maker recommends one.
- Also, check repaired and stained areas before applying the new color.
- Finally, let the primer dry fully before judging the final coverage.
Moreover, primer before painting can reduce uneven absorption across old and repaired sections. As a result, the finish color can look more consistent from wall to wall.
Follow These Steps to Prime Walls More Smoothly
Preparing walls for paint should happen before the roller touches the primer. Therefore, organize the room and repair the surface first. Moreover, a simple order keeps the project cleaner and easier to control.
- First, move furniture away from the walls and cover nearby items.
- Next, inspect the wall for holes, dents, loose paint, and stains.
- Then, fill small damage and let every repair dry completely.
- Afterward, sand rough areas gently until the surface feels even.
- Next, remove dust, grease, and grime with suitable cleaning methods.
- Then, mask trim and edges where extra protection is needed.
- Finally, stir the primer and apply a controlled, even coat.
Afterward, start near the ceiling and work downward. Meanwhile, use a brush around edges and a roller across larger areas. Also, keep a wet edge when possible because this can reduce lap marks.
At BH Solutions, LLC, you can also review our interior painting preparation and finish guide before planning your project.
Avoid Common Priming Errors That Weaken Final Results
Small shortcuts can create large finish problems. Therefore, avoid priming over dirt, moisture, grease, or loose material. Otherwise, these conditions can reduce adhesion and create bubbling or peeling later.
- First, do not apply thick primer coats that create drips or slow drying.
- Next, do not skip sanding when repaired areas remain rough.
- Also, do not ignore ventilation, temperature, or humidity instructions.
- Likewise, do not paint over primer before the recommended dry time.
- Finally, do not assume every surface needs the same primer.
Also, correct active water problems before sealing stains. Although primer can block a mark, it cannot repair the source. Therefore, the wall should be dry and stable before coating begins.
Protect Your Finish by Respecting Primer Drying Times
Drying time varies by product, surface, temperature, and humidity. Therefore, the primer label should guide your schedule. For example, some water-based products dry quickly, while other formulas need much longer.
However, dry to the touch does not always mean ready for paint. Instead, the surface still needs the recommended recoat time. Otherwise, the finish may trap moisture or bond poorly.
After drying, inspect the wall under good light. If you see rough fibers, drips, or missed areas, correct them first. Then, remove all dust before applying the finish coat.
Create Lasting Interior Results Through Better Surface Preparation
Primer before painting is most useful when the wall needs a stronger and more even foundation. Therefore, focus on the surface condition rather than adding primer automatically. For example, new drywall, repairs, stains, glossy finishes, and strong color changes often need extra preparation.
At BH Solutions, LLC, we believe careful preparation supports a cleaner finish and fewer avoidable problems. Therefore, we inspect the surface, explain the next steps, and keep the process clear. When you want help with an interior project, reach our home improvement team to discuss your walls.
Frequently Asked Questions
Do I need primer before painting every interior wall?
No. However, a sound wall with a similar existing color may not need full priming. Meanwhile, new drywall, repairs, stains, or glossy areas often do. Therefore, review our interior painting preparation and finish guide for more preparation details.
What primer works best on newly repaired wall areas?
Generally, a suitable drywall or general wall primer works well on dry, sanded patches. However, the product must match the surface. Therefore, our guide to careful professional painting preparation explains why careful surface checks matter.
Should I prime before changing a dark wall color?
Often, yes. Therefore, a primer can create a more neutral base and reduce old color showing through. Moreover, for related examples, see our guide to blocking stubborn wall stains.
Can primer stop paint from peeling on glossy walls?
A bonding product can improve grip on slick surfaces when preparation is correct. However, loose paint must be removed first. Therefore, our guide to careful professional painting preparation covers important prep habits.
When should I ask a professional about priming?
Consider help when walls have stains, repeated peeling, large repairs, or uncertain surface conditions. At BH Solutions, LLC, we can review the project and explain practical options. Therefore, to begin, contact us.
References:
- What Is Paint Primer and Is It Actually Necessary? — Real Simple
- How to Paint a Room: 8 Steps to Painting Walls Like a DIY Pro — Architectural Digest