
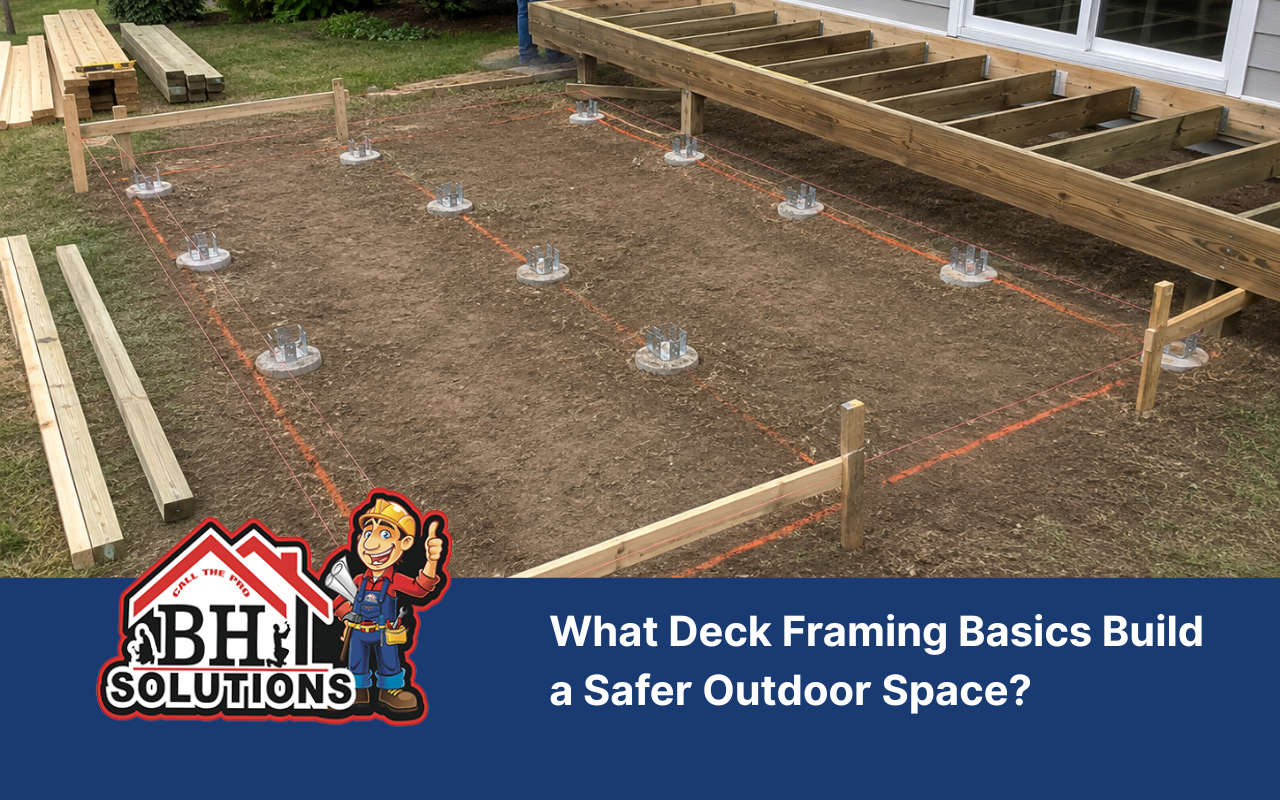
Deck framing basics create the hidden structure beneath every finished deck. First, footings carry weight into the soil. Next, posts transfer that weight upward. Then, beams and joists spread loads across the frame. Finally, connectors and fasteners keep each joint secure.
At BH Solutions, LLC, we believe a clear plan prevents many common problems. Therefore, always confirm local permits, frost depth, lumber sizes, and fastening rules before work begins. Local requirements can change by town. A building official or qualified contractor can confirm the correct details.
Plan Every Support Before Buying Your Framing Materials
First, draw a simple deck layout with accurate length and width measurements. Then, mark the house connection, beams, posts, stairs, and outer edges. This plan helps you estimate materials and spot difficult areas early.
Next, consider how people will use the space. Heavy planters, grills, furniture, and gatherings add weight. Therefore, the design needs dependable structural deck support from the surface to the ground.
- Confirm the deck size and finished height.
- Locate doors, windows, utilities, and drainage paths.
- Check local permit and inspection requirements.
- Choose suitable lumber and corrosion-resistant hardware.
- Mark every beam, post, and footing location.
Position Deck Footings to Create Lasting Ground Stability
A reliable deck foundation starts with correctly placed deck footings. These concrete bases spread weight into firm soil. Therefore, poor footing placement can cause settling, leaning, or uneven deck surfaces.
First, use stakes and string to mark the deck outline. Next, check that corners are square. Then, mark each footing from the approved plan. Always protect underground utility lines before digging.
- Confirm the required footing depth and width.
- Dig through loose soil to stable ground.
- Set forms straight and at the correct height.
- Pour concrete without leaving large empty spaces.
- Install approved post anchors before final assembly.
After the concrete cures, confirm every anchor position. Small errors can shift posts and beams later. With BH Solutions, LLC, you can discuss a professional deck assessment before framing continues.
Align Deck Beams and Joists for Even Load Control
Deck beams carry major loads from the joists above. Meanwhile, deck joists support the decking surface. Together, they form the main skeleton of the deck.
First, set posts plumb and secure them with approved post bases. Then, place beams at the planned height. Check every beam for level before tightening the hardware. Otherwise, the finished surface may slope or feel uneven.
Next, install joists at the spacing shown in the plan. Common spacing may vary by board type and span. Therefore, follow approved tables and manufacturer guidance instead of guessing.
- Use straight joists with the crown facing upward.
- Keep spacing consistent across the full frame.
- Add blocking where the plan requires extra control.
- Check beam connections before adding more weight.
- Replace cracked or badly twisted framing pieces.
Secure the Ledger Board Against Water and Movement
An attached deck often depends on a ledger board at the house. This board supports one end of the joists. Therefore, its connection needs special care.
First, the ledger must connect to suitable structural framing. Siding alone cannot carry deck loads. Next, approved fasteners must follow the required size, spacing, and edge distances.
Moreover, flashing must direct water away from the wall connection. Without proper flashing, trapped moisture can damage wood and nearby house materials. Therefore, inspect the area before covering it with decking.
Pick Framing Connectors That Resist Outdoor Corrosion
Framing connectors join posts, deck beams, deck joists, and the ledger board. Common parts include joist hangers, post bases, post caps, and structural ties.
However, each connector must fit its exact job. A bent hanger or missing fastener can weaken the connection. Therefore, use the approved fastener in every required hole.
- Match connector coatings with treated lumber requirements.
- Use exterior-rated nails or screws approved by the maker.
- Keep connectors tight against the wood surface.
- Replace rusted, cracked, or badly bent hardware.
- Avoid mixing metals that may react outdoors.
For longer service life, routine care also matters. Therefore, explore our guide to protecting your deck for lasting durability.
Follow Simple Steps to Assemble the Frame Safely
A clear order keeps the work organized. It also makes mistakes easier to find before later parts hide them.
- Prepare the site and confirm the marked layout.
- Install approved footings and post anchors.
- Set posts plumb and brace them temporarily.
- Attach beams with suitable caps or approved connections.
- Install and flash the ledger board when required.
- Place joists with correct hangers and spacing.
- Add blocking, rim boards, and remaining ties.
- Check levels, measurements, and fasteners again.
At BH Solutions, LLC, we know that deck framing basics feel easier when each stage follows a clear sequence. Therefore, careful planning supports better results and fewer repairs.
Complete a Framing Inspection Before Installing Deck Boards
A framing inspection checks the structure before decking hides important connections. Therefore, schedule required inspections at the correct project stage.
First, examine the deck foundation and confirm that posts remain plumb. Next, check beams for level and solid bearing. Then, review joist spacing, blocking, hangers, and rim connections.
- Confirm footings match approved locations and depths.
- Check every post, beam, and joist connection.
- Review ledger fasteners and flashing carefully.
- Look for split wood near bolts or screws.
- Correct loose, missing, or corroded hardware.
Avoid Common Errors That Weaken Finished Deck Structures
Several framing mistakes can shorten a deck’s life. For example, shallow footings may move during seasonal soil changes. Likewise, wide joist spacing can allow boards to flex.
Additionally, missing flashing may trap water behind the ledger. Incorrect fasteners can also corrode or fail. Therefore, never treat small hardware choices as unimportant.
Other warning signs include uneven beams, twisted joists, loose posts, and unsupported joints. Consequently, correct these problems before adding deck boards, railings, or stairs.
At BH Solutions, LLC, we focus on clear checks before the final surface goes down. As a result, homeowners receive a stronger base for future outdoor use.
Frequently Asked Questions
What are the main parts of deck framing?
The main parts include footings, posts, beams, joists, a ledger, blocking, and connectors. For related upkeep guidance, read our guide to longer deck durability.
Why does ledger flashing matter so much?
Flashing moves water away from the house connection. Therefore, it helps reduce hidden moisture damage. You can request guidance for your deck project.
How far apart should deck joists sit?
Spacing depends on lumber size, span, decking type, and local rules. Therefore, follow an approved plan. Our outdoor deck repair guide explains related warning signs.
When should a framing inspection happen?
The inspection should happen before deck boards hide the frame. However, local schedules may differ. Speak with our project team about next steps.
How can homeowners protect deck framing longer?
Keep water draining, remove debris, and inspect connectors regularly. Also, repair damage early. Check out our practical deck care recommendations.
Build With Confidence Through Careful Structural Planning
Deck framing basics connect every visible surface to the ground below. Therefore, strong planning matters from the first footing to the final inspection.
Careful deck footings, aligned joists, secure beams, proper flashing, and suitable connectors create dependable support. Moreover, regular checks help protect that work over time.
With BH Solutions, LLC, you receive clear communication about your project needs. Therefore, plan your next home improvement project with a team ready to listen.
References:
- City of El Cerrito Residential Wood Deck Construction Guide
- City of Grand Rapids Residential Deck Permit Guide