
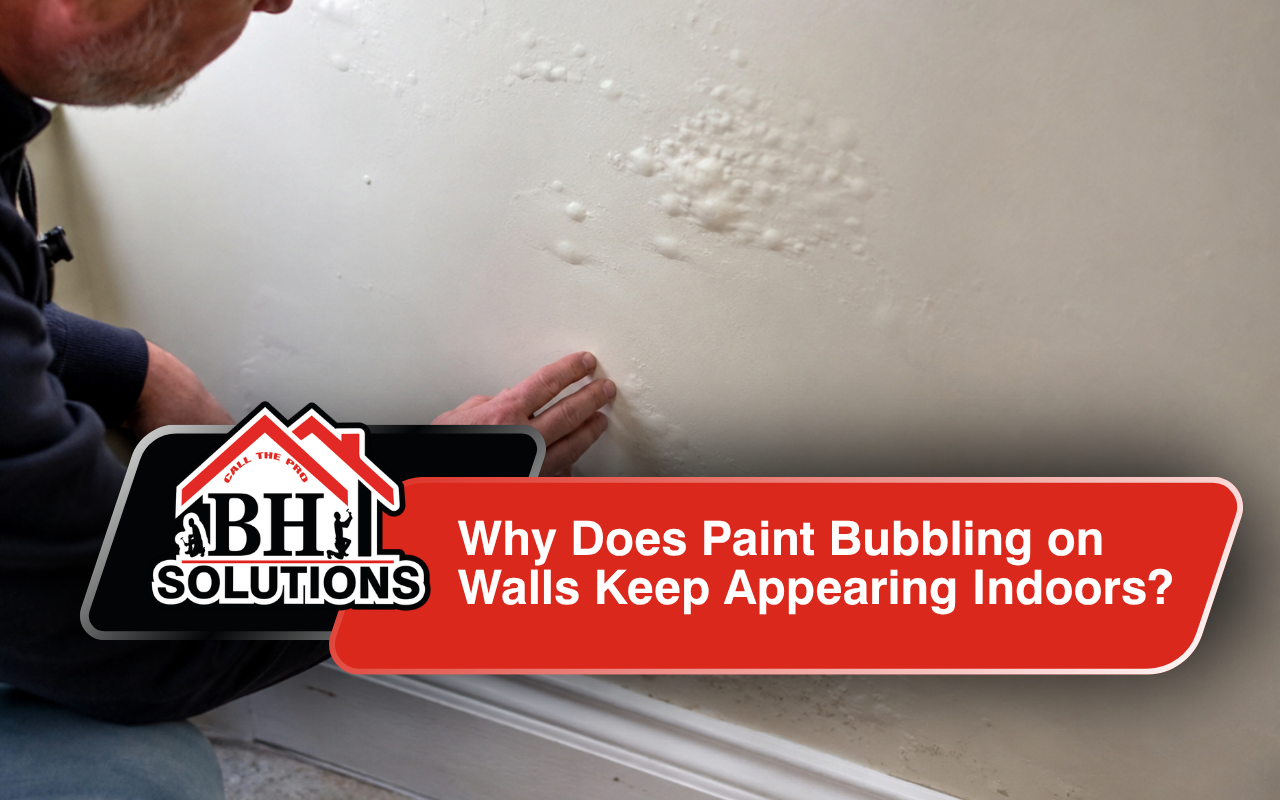
Paint bubbling on walls happens when a painted layer loses its grip on the surface below. As a result, small pockets form beneath the coating. Moisture is often the main reason. However, dirty walls, trapped humidity, heat, and poor preparation can also create problems.
At BH Solutions, LLC, we believe every lasting repair should begin with the cause. Therefore, simply covering a bubble with another coat rarely solves the problem. Instead, the damaged area needs proper inspection, preparation, and drying before new paint is applied.
Detect Hidden Moisture Behind Interior Wall Paint Early
Moisture behind paint is one of the most common reasons bubbles appear. For example, water can enter through plumbing leaks, roof problems, condensation, or damp rooms. Consequently, the paint begins separating from the wall.
Bathrooms, kitchens, laundry rooms, and basements often face higher humidity. Therefore, bubbling interior paint may appear sooner in these spaces. Poor airflow can make the problem worse because dampness stays trapped longer.
Common warning signs include:
- Water stains near the damaged paint
- Soft or damp drywall
- Repeated bubbles in the same location
- Musty smells near walls or ceilings
- Peeling and bubbling paint after humid weather
Therefore, never repaint a wet wall immediately. First, locate and correct the moisture source. For more guidance, review our painting tips for humid areas before starting your project.
Prepare Wall Surfaces Properly for Stronger Paint Adhesion
Surface preparation plays a major role in a lasting finish. However, dust, grease, old coatings, and loose material can weaken the bond. These conditions often create paint adhesion problems after the new layer dries.
At BH Solutions, LLC, we treat preparation as an important part of painting. First, the wall should be clean and stable. Next, loose material should be removed. Then, glossy surfaces should be lightly sanded when needed.
Primer can also create a better base. Moreover, it can help new paint bond evenly across patched or repaired areas. Therefore, skipping primer may create visible differences or weak spots.
A smooth result begins before the final color reaches the wall. Consequently, careful preparation can reduce wall paint bubbles and extend the life of the finish.
Select Better Paint Systems for Damp Interior Rooms
The right paint system matters, especially in rooms exposed to steam or humidity. Therefore, products should match the room and wall conditions.
Paint blistering causes can include using unsuitable coatings in damp spaces. For example, some finishes handle moisture and cleaning better than others. Meanwhile, the correct primer can support stronger bonding beneath the topcoat.
At BH Solutions, LLC, we consider room use before recommending a painting approach. Bathrooms may need different preparation than bedrooms. Likewise, kitchens may need finishes that handle moisture and regular cleaning.
Homeowners planning a larger update can also explore our expert interior painters in Fairfield information. It explains how careful preparation supports cleaner interior results.
Repair Existing Bubbles Without Hiding Their Root Cause
Wall paint bubbles should not simply be pushed flat or painted over. Instead, the damaged paint needs removal after the underlying cause is corrected.
At BH Solutions, LLC, we focus on creating a sound surface before repainting. Therefore, loose paint should be scraped carefully. Next, rough edges should be sanded until the area feels smooth.
A typical repair may include:
- Correcting leaks or excess humidity first
- Removing loose or blistered paint
- Sanding rough edges around the damaged area
- Cleaning dust and surface residue
- Repairing damaged drywall when necessary
- Priming the prepared surface before repainting
Most importantly, the wall must dry completely. Otherwise, moisture behind paint may push through the new finish again.
Improve Ventilation to Support Smoother Wall Paint Results
Good airflow can make a noticeable difference during interior painting. Therefore, ventilation should remain part of the preparation process.
When indoor air stays humid, paint may dry more slowly. Consequently, weak bonding and bubbling can become more likely. Bathrooms and other enclosed rooms need special attention because steam can remain trapped.
Opening windows may help when outdoor conditions are suitable. Likewise, exhaust fans can remove humid air from bathrooms and kitchens. A dehumidifier may also help when the indoor environment remains damp.
At BH Solutions, LLC, we encourage homeowners to consider room conditions before painting begins. Therefore, controlling humidity can support more even drying and better adhesion.
Follow Simple Steps to Fix Damaged Painted Walls
Once the source of the problem is solved, the damaged area can be repaired. However, each step should happen in the correct order.
- Inspect the bubbles and surrounding wall for moisture.
- Fix leaks, condensation, or other water sources first.
- Scrape away loose paint without damaging solid drywall.
- Sand the edges until the surface feels even.
- Clean away dust, grease, and loose material.
- Patch damaged areas and allow them to dry.
- Apply the correct primer to the repaired surface.
- Repaint only after the wall and primer are fully dry.
Therefore, patience is important throughout the process. Applying new paint too early can trap moisture again. As a result, peeling and bubbling paint may return within a short time.
Prevent Future Blisters Through Consistent Home Maintenance Habits
Prevention starts with controlling the conditions around your painted walls. Therefore, regular inspections can help you catch small problems before they spread.
Simple preventive habits include:
- Check plumbing areas for leaks regularly.
- Run bathroom exhaust fans during humid periods.
- Keep walls clean before repainting.
- Repair damaged caulk around wet areas.
- Allow surfaces to dry completely before painting.
- Use suitable primers on repaired wall sections.
Moreover, inspect areas where bubbling has happened before. Repeated damage may indicate a hidden source that needs further attention.
With BH Solutions, LLC, you can discuss recurring wall problems before beginning another paint project. Therefore, our team can help you consider the next practical step for your space.
Know When Professional Painting Support Makes Better Sense
Small bubbles may sometimes come from a simple preparation issue. However, large or recurring areas deserve closer attention.
If drywall feels soft, moisture may be entering the wall. Likewise, stains or repeated blistering may point to a leak. These problems should be corrected before cosmetic repairs begin.
Professional support can also be useful when several rooms show paint adhesion problems. Moreover, a larger repaint may require careful matching, preparation, and finishing.
At BH Solutions, LLC, we can review your painting concerns and discuss suitable options. When you need help planning the work, contact our team to share details about your project.
Frequently Asked Questions
What usually causes bubbles to appear on painted walls?
Moisture, poor preparation, dirty surfaces, and weak adhesion are common causes. Therefore, identifying the source should come before repainting. Our stain blocking primer guide explains why moisture and surface preparation should be addressed first.
Can humidity cause interior wall paint to blister?
Yes. High humidity can slow drying and leave moisture around the painted surface. Consequently, bubbling interior paint may develop. Review our painting tips for humid areas for practical ways to manage damp conditions.
Should I paint directly over existing wall bubbles?
No. First, correct the cause and remove loose material. Then, prepare and prime the surface before repainting. Our expert interior painters in Fairfield guide explains why careful preparation supports a smoother finish.
How can I stop paint bubbles from returning?
Control moisture, clean the surface, repair damage, and allow enough drying time. Moreover, suitable primer and paint can support better adhesion. Explore our interior and exterior painting services to learn more about professional painting support.
When should I call a professional about bubbling paint?
Consider professional help when damage keeps returning, covers a large area, or may involve hidden moisture. To discuss the condition of your walls, contact our team and tell us what you are seeing.
Restore Smooth Walls With Careful Long-Term Painting Decisions
Paint bubbling on walls is more than a cosmetic concern. Instead, it can reveal moisture, poor preparation, or weak bonding beneath the finish.
Therefore, the best repair begins by finding the source. Afterward, remove damaged material, prepare the surface, and let everything dry completely. Finally, use a suitable primer and finish for the room.
At BH Solutions, LLC, we believe careful preparation creates better long-term results. With the right approach, you can reduce future wall paint bubbles and protect your interior finish. When the cause remains unclear, reach out to us to discuss your walls and next steps.
References:
- Should You Paint Inside if It’s Humid Out? Here’s What the Experts Say — Better Homes & Gardens
- Bubbling Paint Will Ruin Your Walls—Here’s How Experts Prevent It — House Beautiful